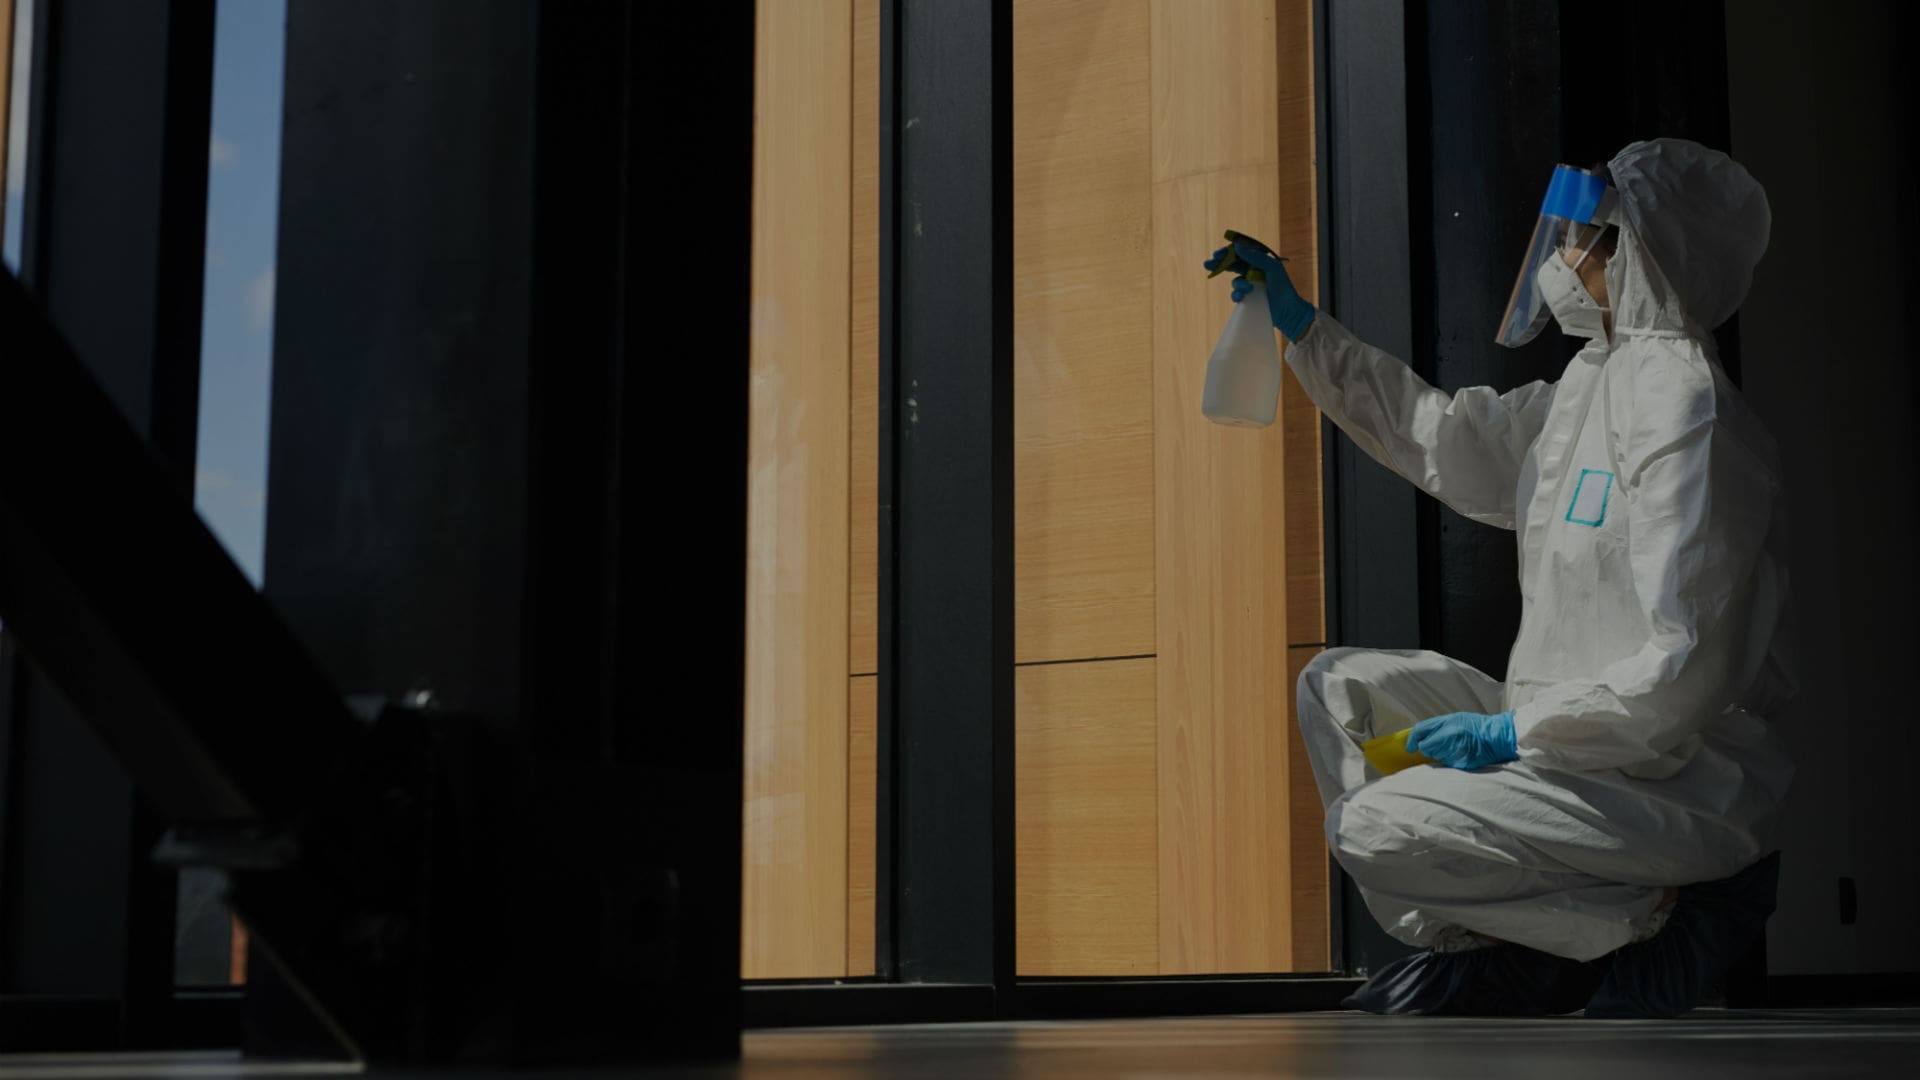
Basements are valuable extensions of living space, yet they are also the most vulnerable part of a home when it comes to water intrusion. Proper sealing not only protects structural integrity but also prevents mold growth, preserves stored items, and maintains indoor air quality. The following guide consolidates industry-tested techniques, material recommendations, and maintenance practices that can help homeowners achieve a durable, moisture-free basement. By following these expert tips, the risk of costly repairs and health hazards can be dramatically reduced.
Understanding Moisture Challenges
Before selecting a sealing method, it is essential to identify the sources of moisture that affect basements. Common contributors include groundwater pressure, surface runoff, condensation, and plumbing leaks. Each source demands a specific mitigation strategy.
Key Factors to Evaluate
- Hydrostatic pressure: The force exerted by surrounding soil water can push moisture through cracks and joints.
- Exterior grading: Improper slope away from the foundation directs rainwater toward the basement walls.
- Ventilation: Inadequate airflow encourages condensation on cool surfaces.
- Existing cracks: Even hairline fissures become pathways for water when pressure builds.
For a comprehensive analysis of these issues, Discover expert strategies here. The resource outlines diagnostic steps that align with professional inspection standards.
Choosing the Right Sealant Materials
The effectiveness of a basement seal hinges on selecting materials that match the identified moisture pathways. Modern sealants combine durability with flexibility, allowing them to accommodate slight foundation movement without losing adhesion.
Recommended Products
- Polyurethane waterproofing membranes: Excellent for interior walls, providing a seamless barrier that resists cracking.
- Epoxy coatings: Ideal for concrete floors, offering high resistance to chemical exposure and abrasion.
- Crystalline waterproofing additives: Mixed into fresh concrete, they create a self-healing matrix that blocks water at the microscopic level.
- Rubberized sealant tapes: Perfect for sealing joints around pipes and utility penetrations.
When considering product specifications, Learn about our tailored solutions. The guide provides comparative data that helps match material performance to project requirements.
Step-by-Step Sealing Process
Executing a successful seal involves meticulous preparation, precise application, and thorough curing. The sequence below reflects best practices used by seasoned contractors.
1. Site Preparation
- Clear the area of debris, dust, and loose mortar.
- Repair all visible cracks using a hydraulic cement or epoxy filler.
- Ensure the surface is completely dry; use dehumidifiers if necessary.
2. Exterior Measures
- Regrade the soil to achieve a minimum 6-inch slope away from the foundation.
- Install or repair French drains and weeping tiles to redirect groundwater.
- Apply a waterproofing membrane to the exterior wall before backfilling.
3. Interior Application
- Prime the walls with a moisture-penetrating sealer to improve adhesion.
- Roll or spray the chosen polyurethane membrane in two coats, allowing proper cure time between layers.
- Seal floor joints with epoxy or rubberized tape, then apply an epoxy coating for a uniform finish.
4. Finishing Touches
- Install a vapor barrier behind any finished flooring materials.
- Set up a controlled ventilation system to manage humidity levels.
- Conduct a water test by gently spraying the exterior walls to verify the integrity of the seal.
For a detailed walkthrough, Explore advanced guides and tips. The resource includes visual aids that illustrate each phase of the process.
Maintenance and Long-Term Care
Even the most robust seal requires periodic inspection to ensure continued performance. Regular maintenance can catch early signs of failure before they evolve into major problems.
Routine Checks
- Inspect walls and floors for discoloration, efflorescence, or new cracks.
- Test interior humidity with a hygrometer; aim for levels below 60″?%.
- Verify that exterior drainage systems remain clear of debris.
- Reapply sealant to high-traffic areas every 5-7 years, or as recommended by the product manufacturer.
Guidance on establishing a maintenance schedule can be found at Find out more about this approach. The article outlines preventive actions that extend the life of the seal and protect the home’s value.
Final Thoughts
Effective basement sealing combines accurate moisture assessment, strategic material selection, disciplined application, and diligent upkeep. By adhering to the outlined techniques, homeowners can transform a potentially problematic space into a reliable, dry foundation for storage, recreation, or additional living quarters. Leveraging the expertise documented in reputable resources ensures that each step aligns with industry standards, delivering lasting protection without the need for frequent, costly repairs.